Using the Arduino Motor Controller Shield with Two External Interrupts
by Sam
I was disappointed to discover that the Arduino Motor Shield (Revision 3) uses Digital Pin 3 as the PWM pin to control Motor A. Since Pins 2 and 3 are the only two pins capable of being used as external interrupts on the Arduino Uno, this is a huge oversight. External interrupts are necessary for encoders to be used effectively, to ensure that signals are not missed. Motors and encoders are commonly used together to provide feedback on motor speed (or distance travelled), so a shield designed to control motors should have taken this common use case into account – especially when Pins 6 and 10 are both alternative and free PWM pins available for use.
The Motor Shield uses the following pins, assuming you haven’t cut the brakes or sensors:
A0 : Motor Current A A1 : Motor Current B D1 : Serial Tx D2 : Serial Rx D3~ : Motor PWM A D8 : Motor Brake B D9~ : Motor Brake A D11~ : Motor PWM B D12 : Motor Dir A D13 : Motor Dir B
I haven’t checked which other non-IO pins the Motor Shield uses, but it will probably use, as a minimum, the GND, 5V, VIN, RESET etc.
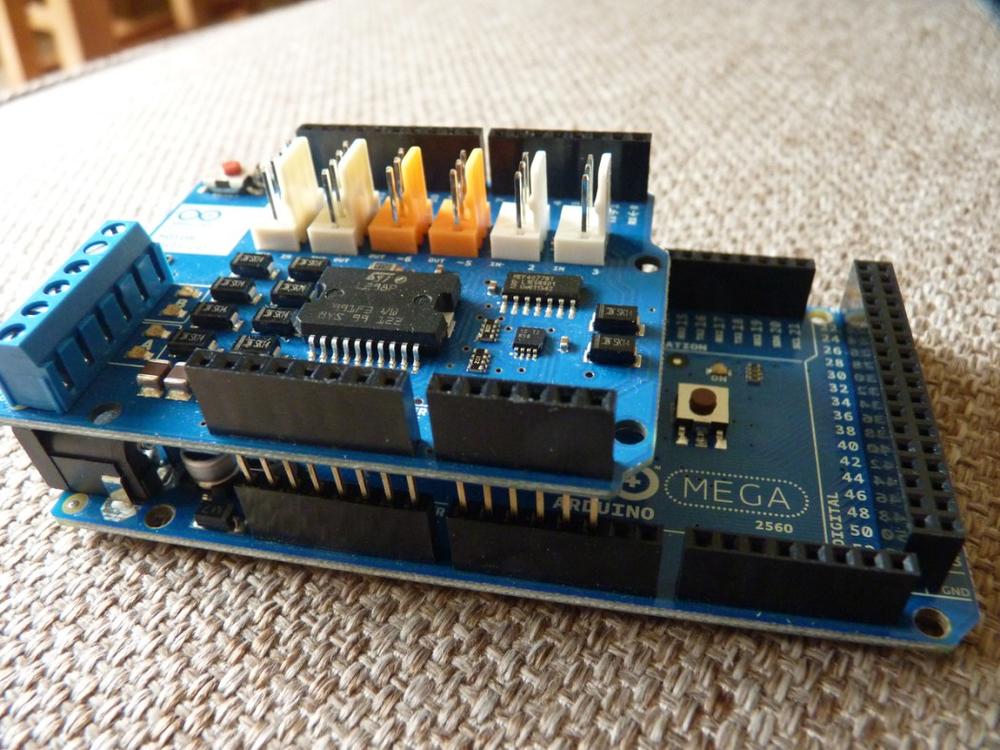
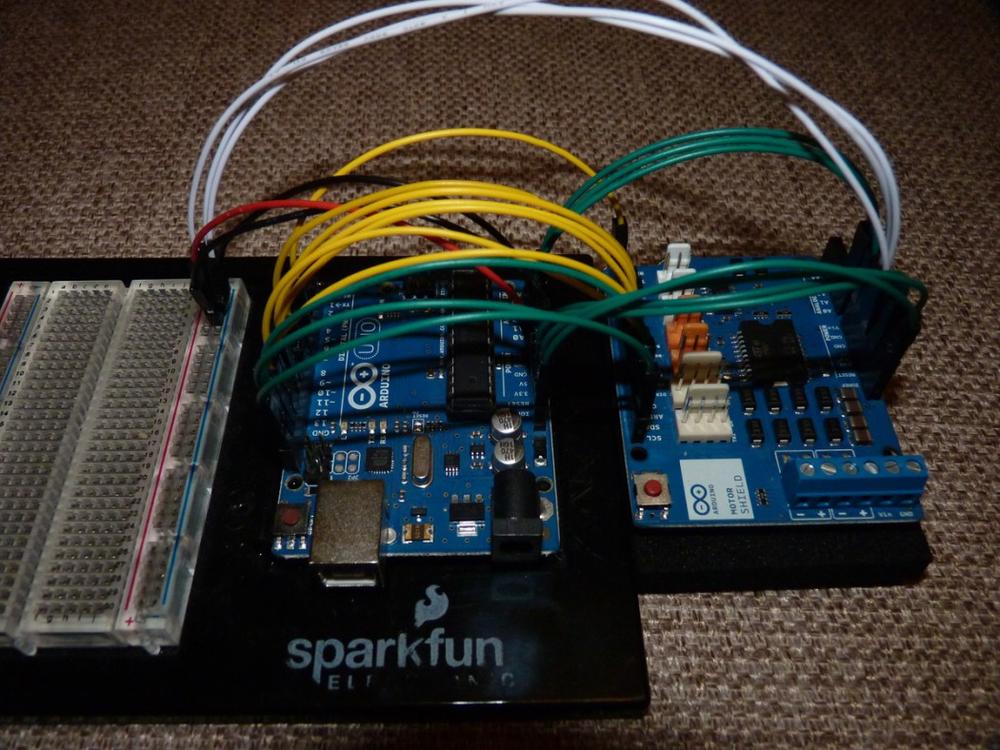
When the Motor Shield is piggy-backed onto the Arduino Uno, all Arduino pins are carried through to the Motor Shield, even those that the Motor Shield does not use. This is to provide access to the pins, as once the Motor Shield has been connected it is in the way and blocking access to the Arduino pins. Thus, Pin 3 on the Arduino is connected to Pin 3 on the Motor Shield. But by placing the Motor Shield side-by-side with the Arduino, it becomes possible to connect the two together with wires. This allows you to connect Pin 3 of the Motor Shield to any other available PWM pin (i.e. either Pin 6 or 10).
I connected all non input/output pins from the Arduino directly their counterparts (with the exception of the 5V and GND pins, which I connected via a breadboard to provide access to attach other components). I then connected all above mentioned input/output pins to their counterparts, with the exception of Pin 3 of the Motor Shield, which I connected to Pin 6 of the Arduino.
This is great, as it frees up Pin 3 to be used as an external interrupt. However, the Motor Shield Library is hard-coded to use Pin 3 of the Arduino, so a little recoding is required. By a little coding, I do mean a little. In the libraries directory, open the file MotorShield.h and change:
#define MOTOR_A 3to:
#define MOTOR_A 6If you would rather not overwrite the original library so that you can still use your Arduino and Motor Shield piggy-back style, then copy your MotorShield directory and call it something like MotorShieldMod. You will then need to rename MotorShield.h and MotorShield.cpp to MotorShieldMod.h and MotorShieldMod.cpp. Then edit both of these files and change everywhere it says MotorShield to make it say MotorShieldMod:
In MotorShieldMod.h, change:
#ifndef _MotorShield_h_to:
#ifndef _MotorShieldMod_h_Cand:
#define _MotorShield_h_to:
#define _MotorShieldMod_h_In MotorShieldMod.cpp, change:
#include “MotorShield.h”to:
#include “MotorShieldMod.h”The convenience of piggy-backing the Motor Shield onto the Arduino Uno has been lost by linking the two together in this way. However, the benefit gained when wanting to connect encoders to the external interrupt Pins 2 and 3 makes this worthwhile.
It may be possible to cut the connector sticking out of the bottom of Pin 3 on the Motor Shield and do some rewiring that still allows it to be piggybacked, but I am reluctant to damage the Motor Shield, especially when I have my Arduino Mega ready to go (which does not suffer from this conflict).
I hope that the next revision of the Motor Shield will make the sensible decision and switch from Pin 3 to Pin 6 or 10.
Subscribe via RSS

