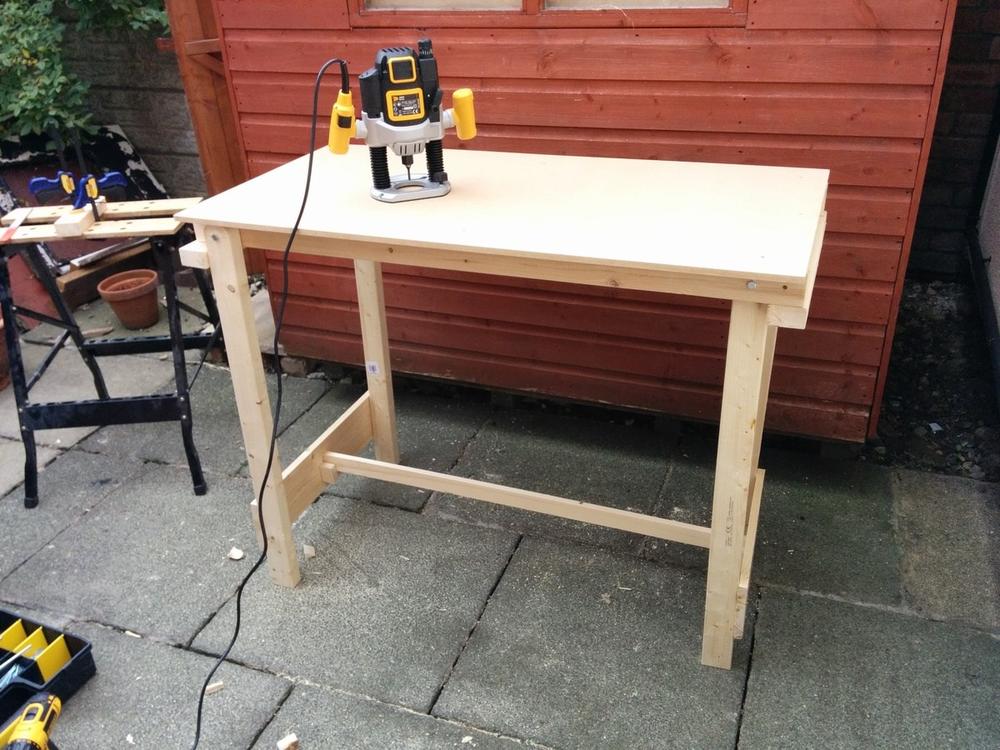
Homemade Workbench
by Sam
I plan to make a table to mount my router prior to doing some DIY, but the first stage of that is to make the workbench. Space is at a premium in my shed, so a workbench with folding legs is essential.
My first thought was to make three separate parts to the workbench – a tabletop and two A-frame folding legs. However, I settled on a design that would take up a little less space.
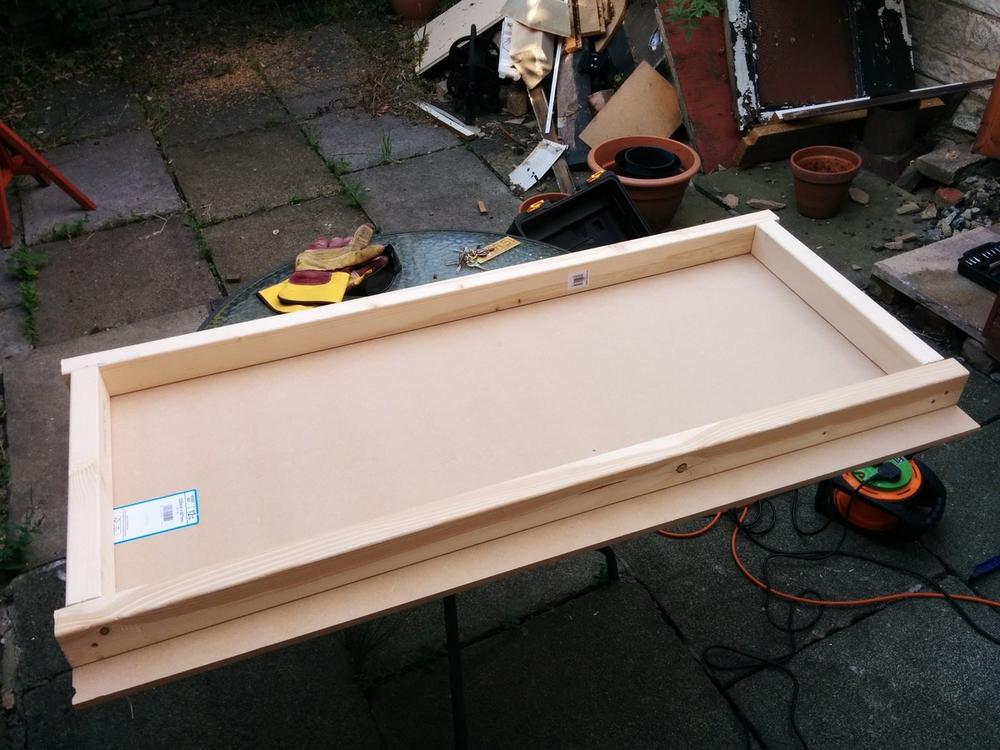
Basically, a 12 mm thick piece of MDF forms the work surface. The size of the work area is 1220 x 607 mm. Beneath this, I mounted a frame for structural support, making sure that enough space is left for the legs. The legs and worktop support are both made from pine (sold as studwork timber in Wickes). The dimensions I used are 63 x 38 mm. I used four pieces of 2.4 m long for the entire project and have some offcuts spare.
I made the legs 950 mm long. If I’m honest, maybe 900 mm would have been a better option, but I can always saw a bit from the bottom of the legs at a future date. You never know until you have tried it, so going longer initially is a safer bet.
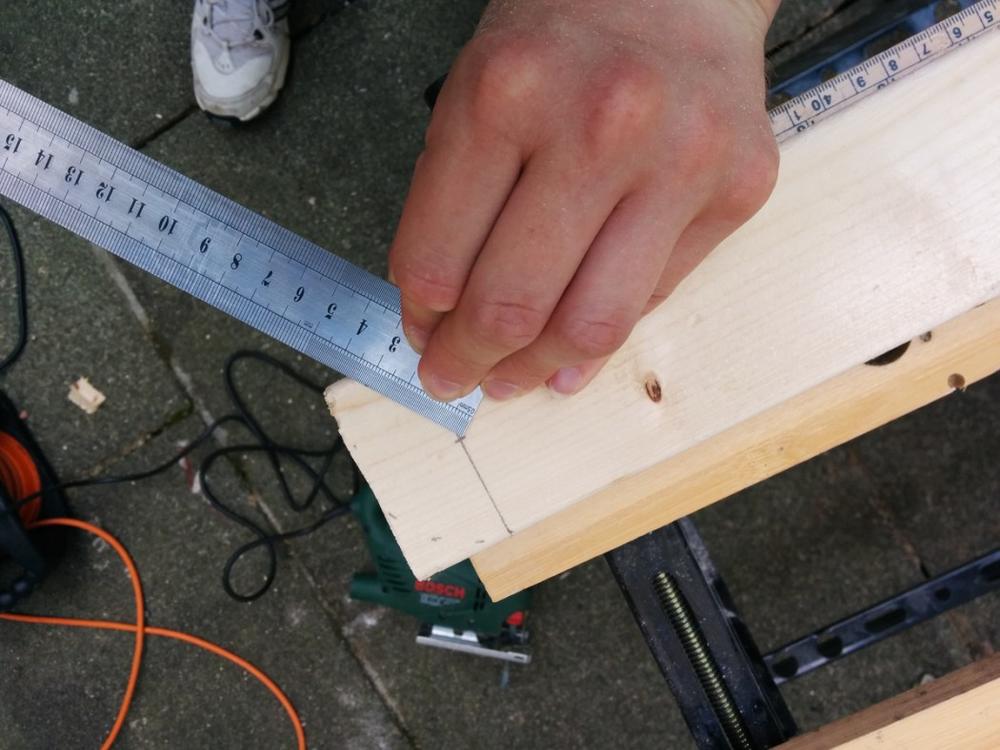
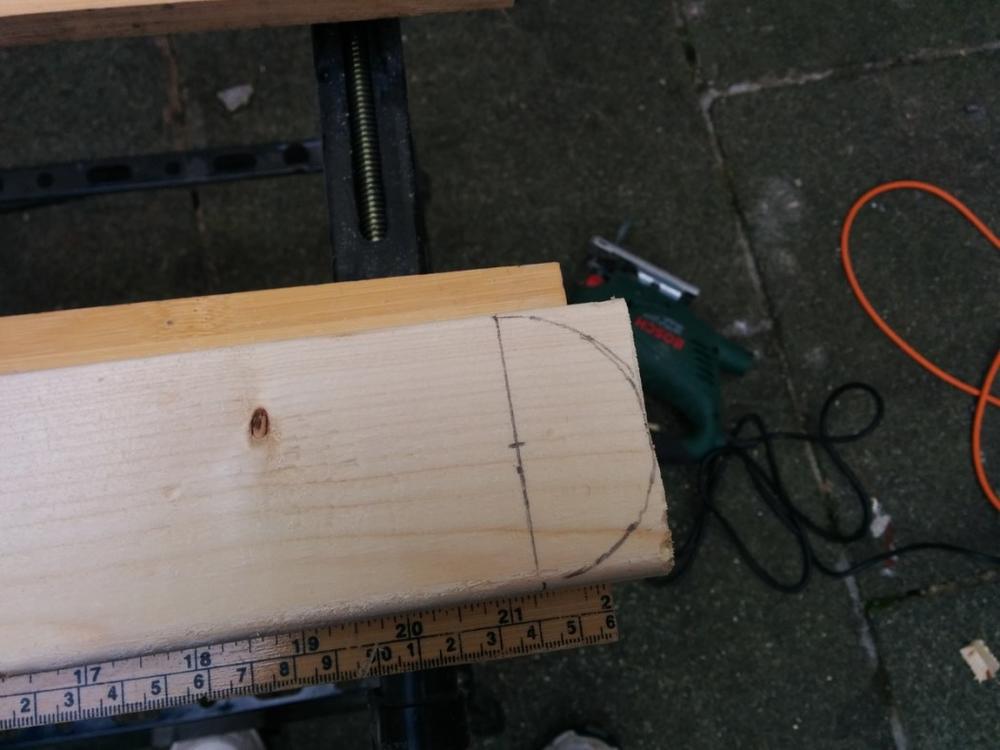
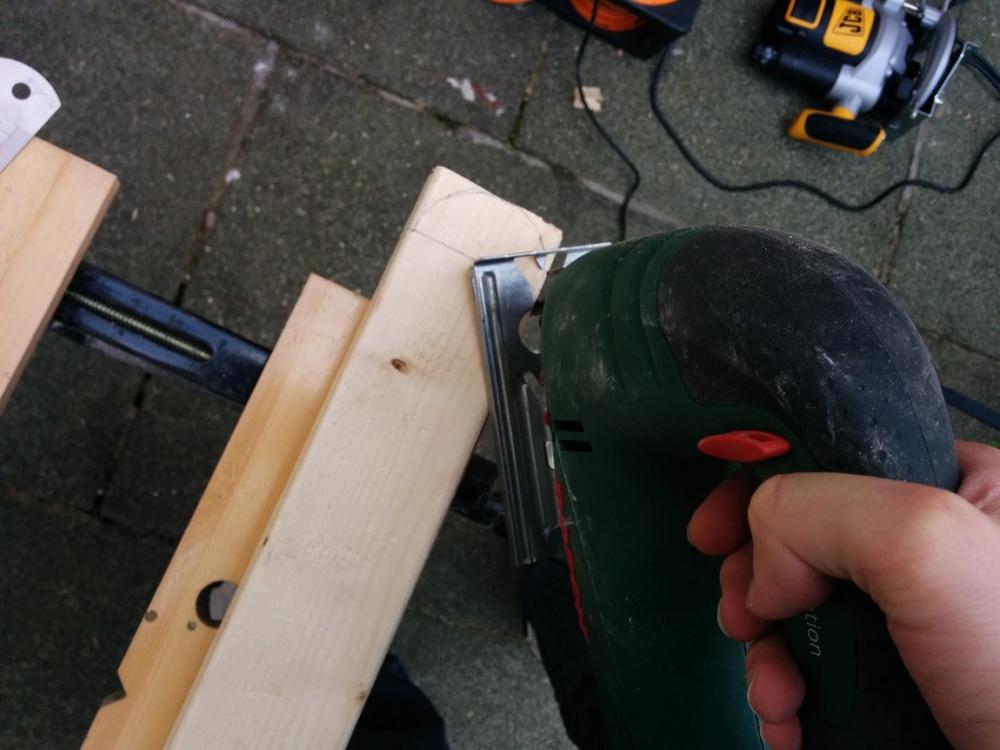
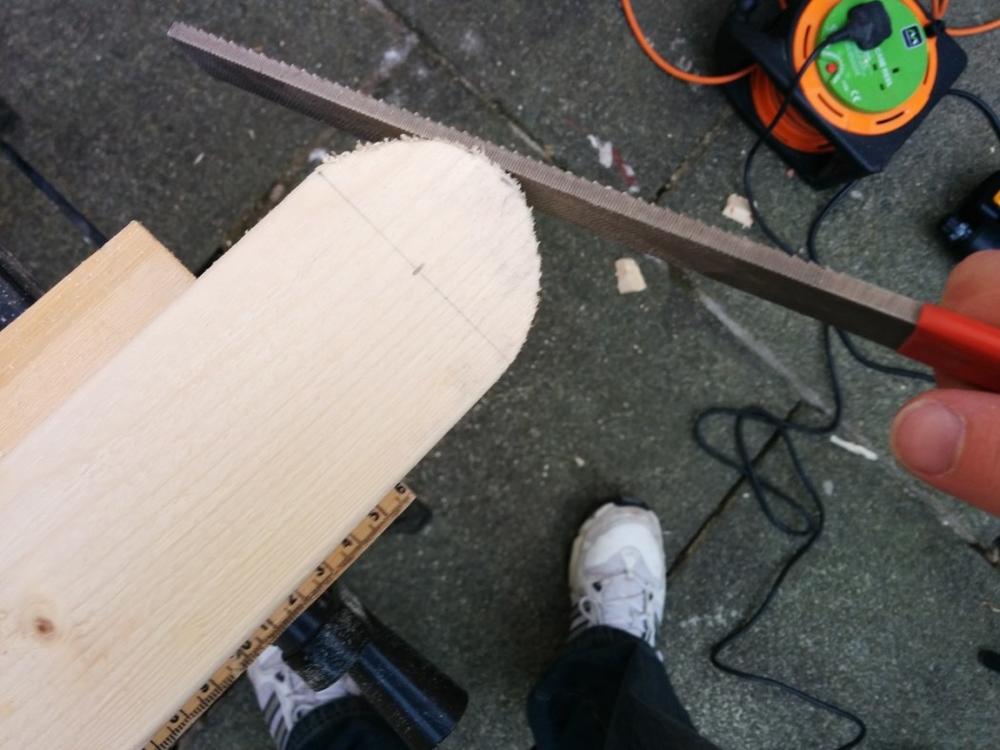
The top of the legs will be fitted with a bolt to allow them to fold inwards. However, the corners would prevent free rotation so the legs need to be rounded off. I did this by marking a 30 mm radius around the bolt-hole location and using a jigsaw to do the cutting. I then used a file to smooth off the edges.
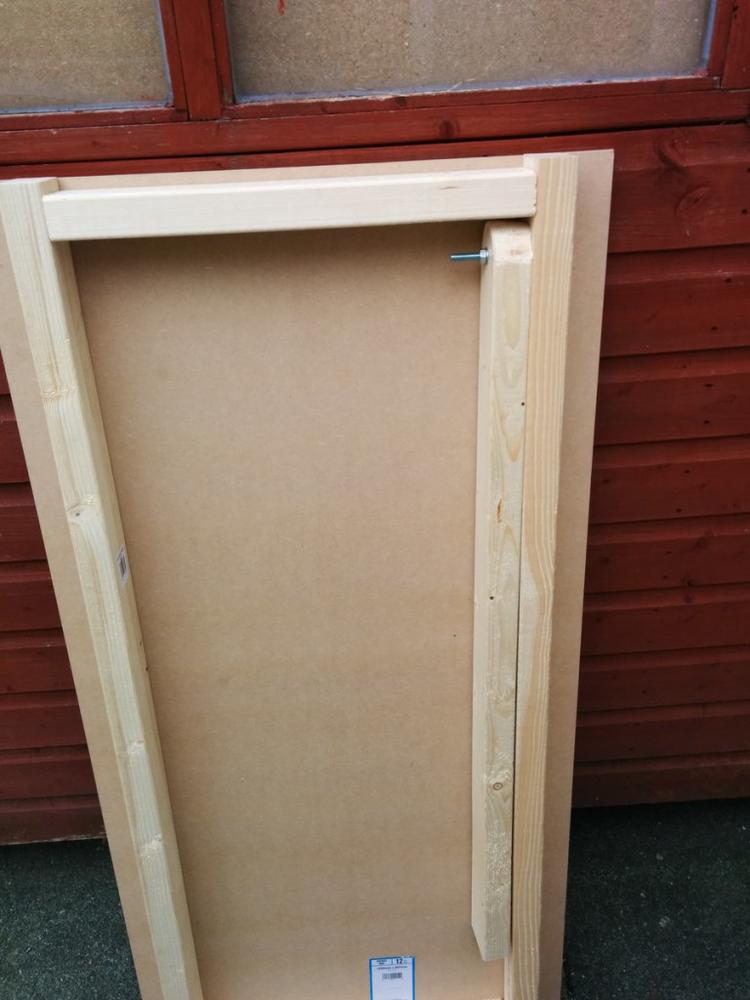
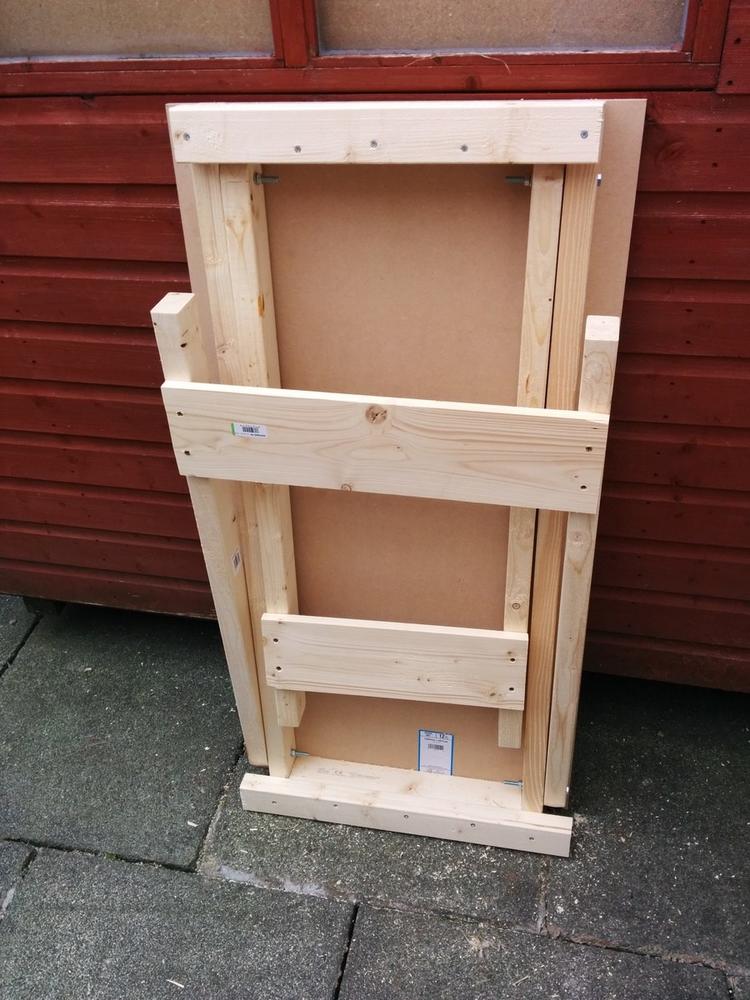
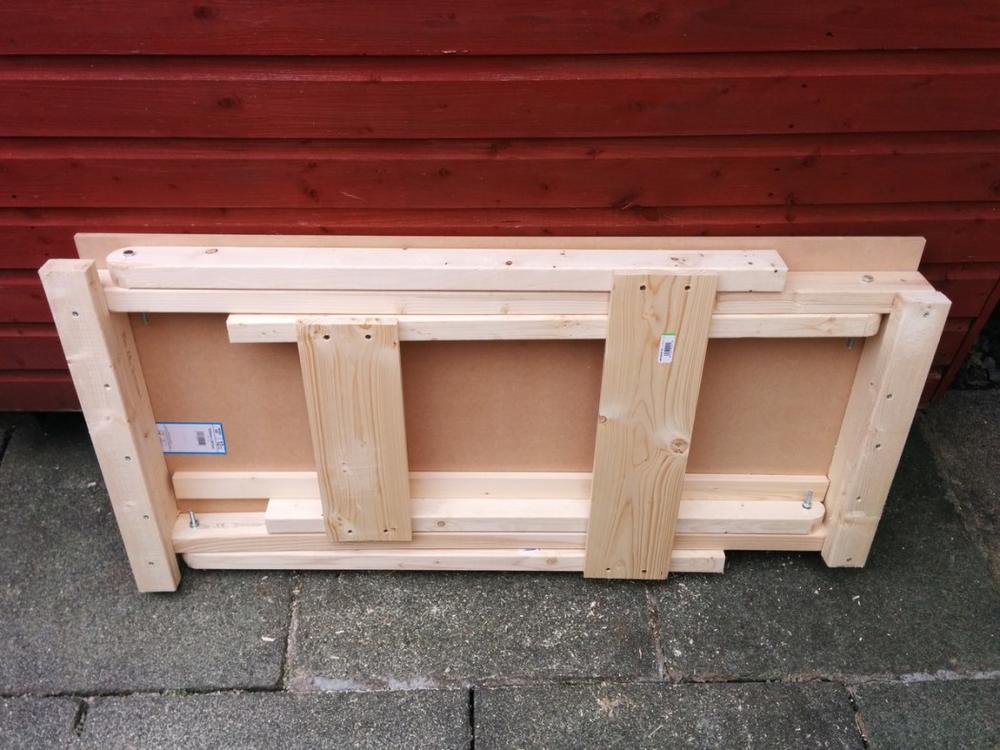
Once all four legs have been made, they need to be attached to the table. The first two legs will attach to the inside of the table frame as in the images below. Connect the two legs together with a support for stability.
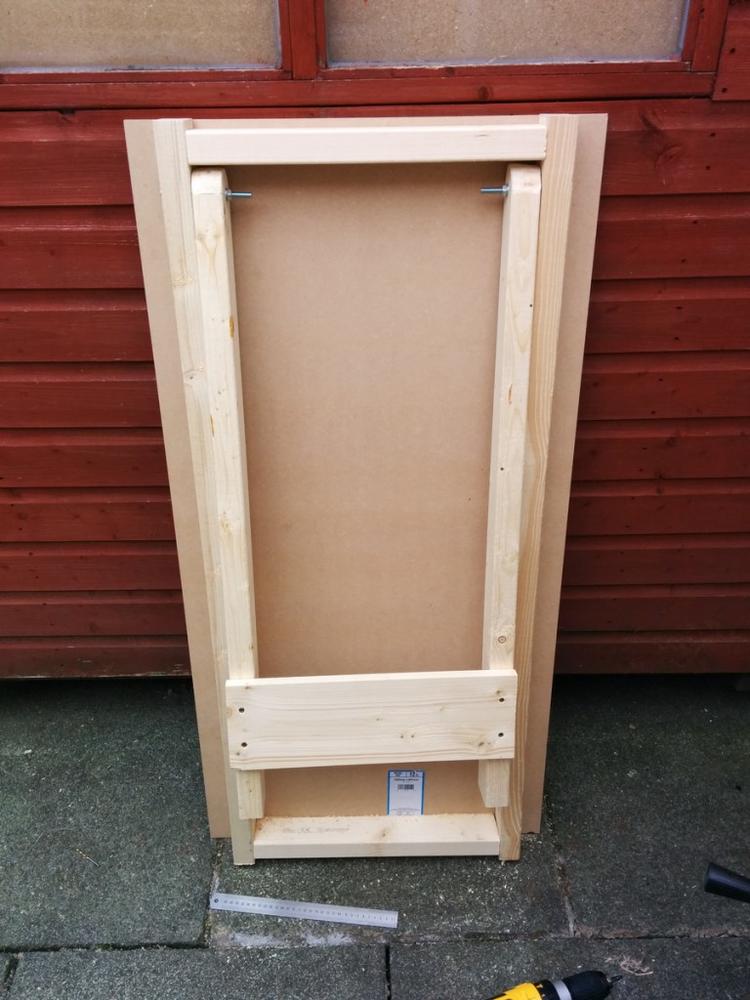
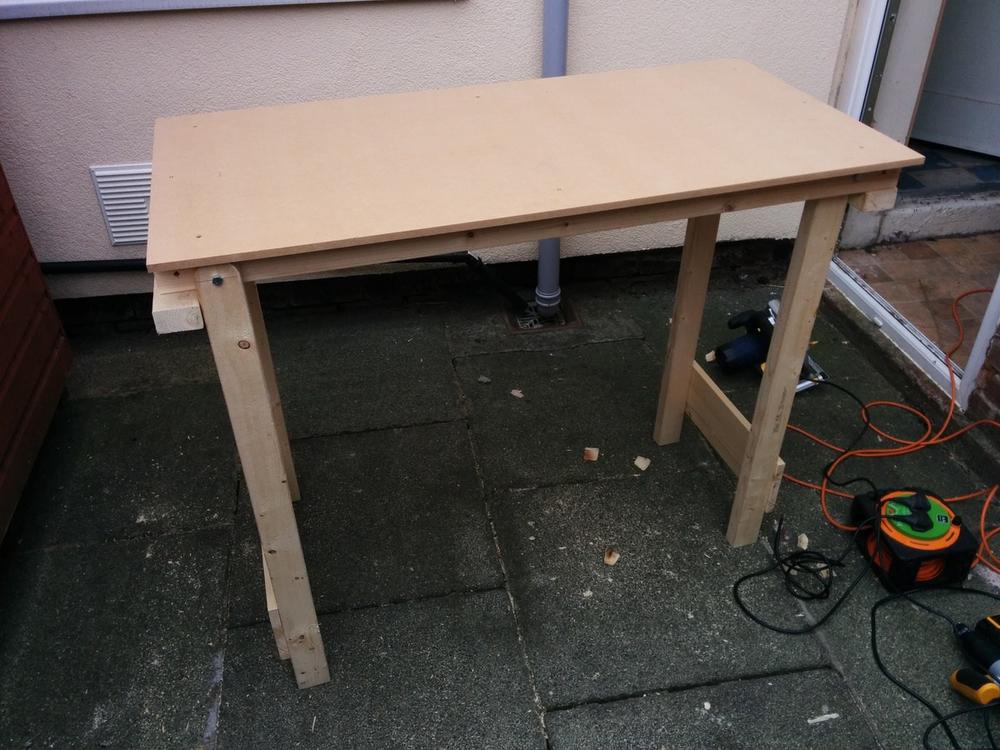
Mount the other two legs to the outside of the table frame and add connect together with a brace. You should end up with something like the following image.
Next add an extra length of wood to the top and bottom of the table frame to prevent the legs from opening beyond 90°. The inside legs will already be prevented by the frame itself, but due to to the position at which I mounted the legs, this is beyond 90° on my table so I added in the length of wood on both sides. Use a square to open the legs to 90° and locate the wood accordingly prior to screwing into place.
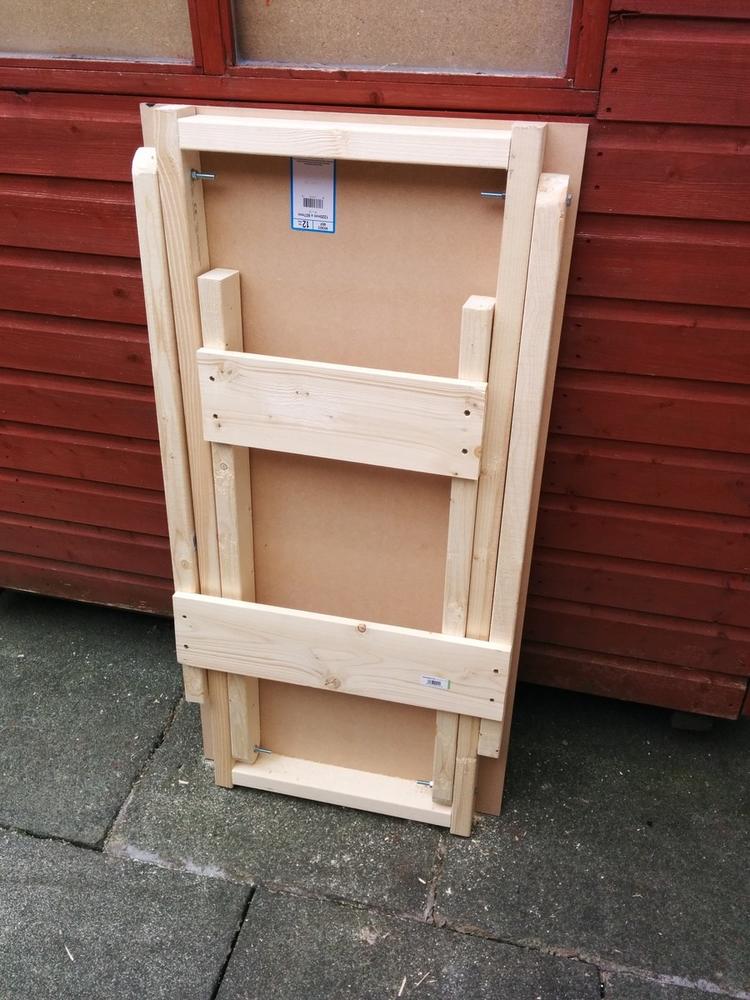
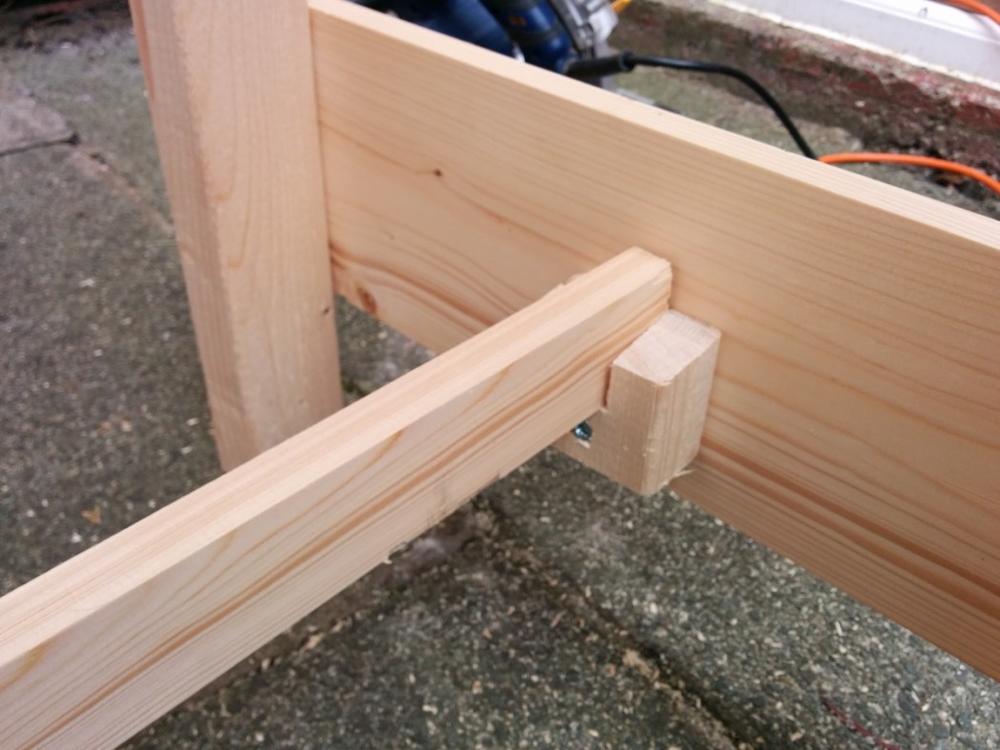
The cross beam will prevent the legs from closing. Measure a length of wood based on the distance that the legs should be kept apart. Use the distance between the top of the legs as a guide. Then make two little U-shaped supports for the cross beam, one for each pair of legs. This is to hold the cross beam in place without permanent fixings, allowing quick and easy removal for folding.
Open the table up, being careful that it doesn’t collapse – we still need to add the cross beam into place.
Drop the cross beam into it and the table is finished!
It is important that the table frame is connected in a way that it does not require the MDF to hold it all together. This will make it easy to replace the MDF if it becomes damaged. You could also mount an additional thin 3 mm layer of MDF to the surface, which will allow you to replace a damaged surface more quickly and cheaply than replacing the 12 mm MDF.
Subscribe via RSS
